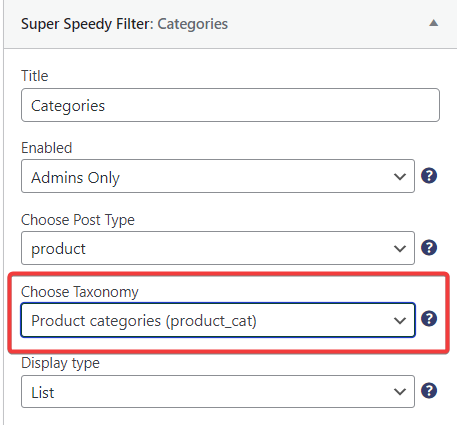
Product category filters let your customers navigate your products more efficiently by giving a variety of options on how they will appear on your website. Name your Super Speedy Filter whatever you want, hit save, select your taxonomy (product_cat, in this case), and hit save again.
Once you have added this, you can get to work configuring.
It should look something like this, depending on your theme.
I’m going to click the Save button on the bottom right after every change I make. You don’t have to do this but it’s the only way the changes will apply so you will be able to see what it looks like. Make sure to also refresh the page on the site you are building to see the changes. I would suggest opening that in another tab.
Table of Contents
- Choose your Title
- Drop Down Text
- Display Types
- Type of category list
- Adaptive Filters
- Show product counts
- Showing clickable product category inline on each product in your archive
- SEO options for Product Category Filter
- Changing the order of the category in your permalinks
- Adding category name to page titles
- Adding a category name to Meta Descriptions
- Adding a category description

Choose your Title
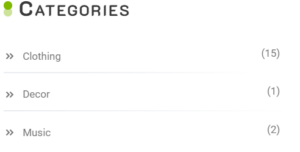
Let’s start with the title and then work down the list.
![]()
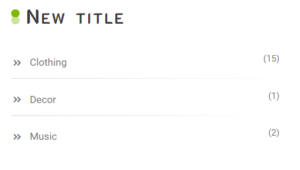
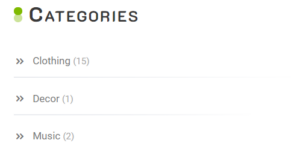
In this case, the title will be Categories, Now it looks like this:
Drop Down Text
Next, it shows the Drop Down Text option. This only applies to the Dropdown Display type and I will get back to that very soon.
![]()
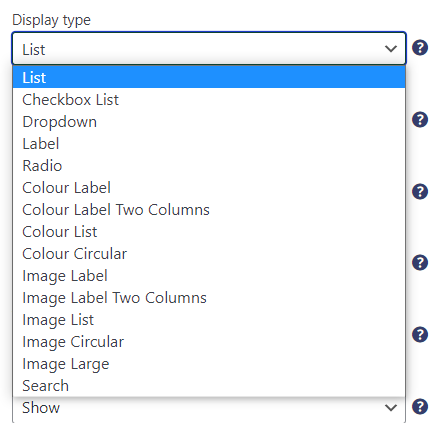
Display Types
There are quite a few different display types, you can learn more about them through our Display Types article. but there will be a few examples below.
Remember to click save and refresh your site page to see the changes.
Here are the first two of them in action, in order.
List:

Label:

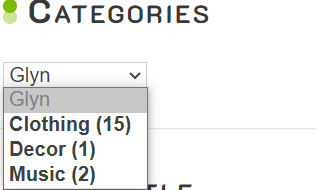
As for the Dropdown, this is what it looks like unchanged:


This is where the Drop Down Text option comes in. You could leave it as it is or if you have any personal preference you can type that into the Drop Down Text option. I’m just going to put my name there, for educational purposes.

And now I click save, switch to the site, and refresh.
Type of category list
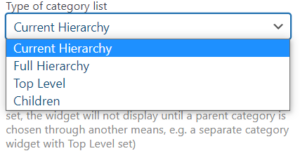
These options give you the choice of how you want to display your subcategories. If the Current Hierarchy option has been picked, the site will show the customers only the subcategories of the category that they have clicked on, and if they click on something else the previous subcategories will disappear. Before any category has been chosen, the Current Hierarchy option will look the same as the Top Level option.
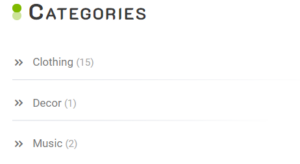
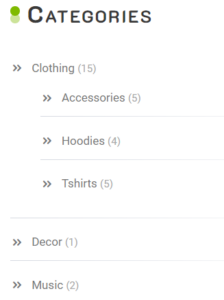
But once a selection has been made, the subcategories will appear. This is also what the Full Hierarchy option will look like if picked.
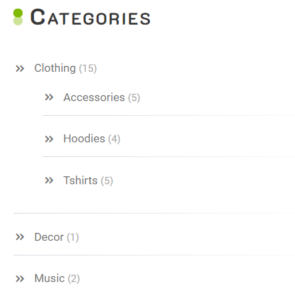
Choosing the Full Hierarchy option will show the subcategories as in the picture above, but if the Decor or the Music category in this example had any subcategories they would also be showing, whereas if the Current Hierarchy option was enabled and the Music category was chosen, only the subcategories of the Music category would show up.
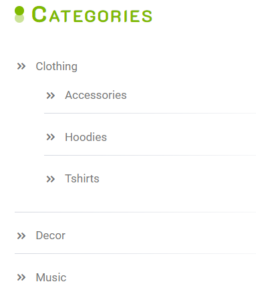
The Top Level option will show none of the subcategories in the sidebar, even if clicked on.
Even after clicking on a category, it will look the same as this, so I’m not going to show a picture of that.
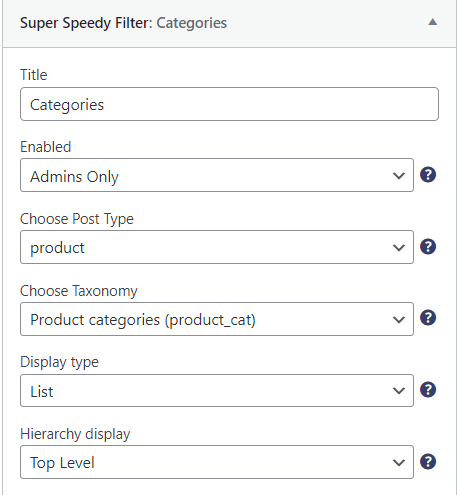
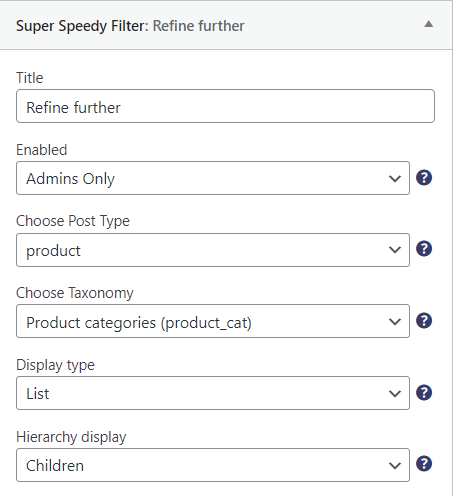
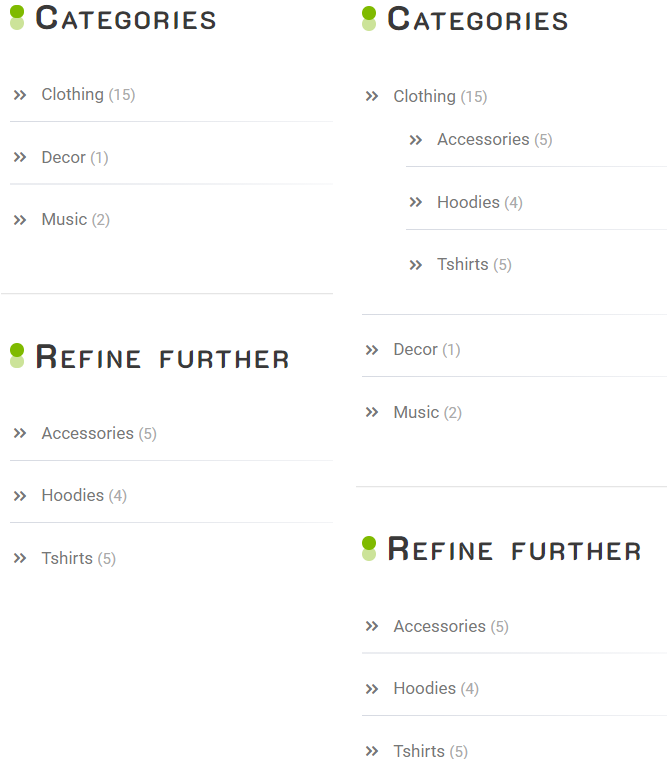
The Children option allows the customer to narrow down and refine their search whilst still showing the original category options. In this case, you would have to add another Super Speedy Filter with Categories to your sidebar. I’ll name one of them Categories and the other one Refine Further. The Categories filter will be configured with a Top Level setting and the Refine Further will have the Children setting. I highly recommend putting them in this order.
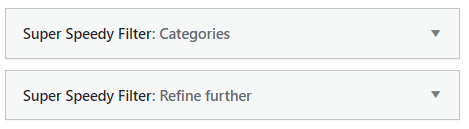
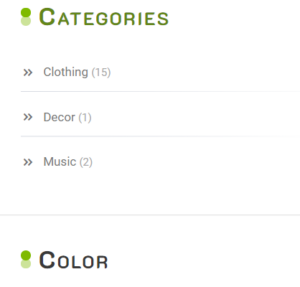
Now if no category has been chosen, the Refine Further option won’t even come up, the next option under categories in my case are the colour options.
But if I click on an option now, with the Top Level filter enabled a separate product category filter called Refine Further will pop up with the subcategories. If I had set the first category filter with the Current Hierarchy setting the subcategories would show twice.
Adaptive Filters
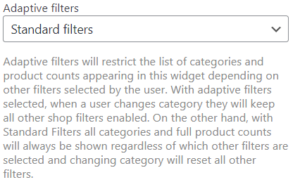
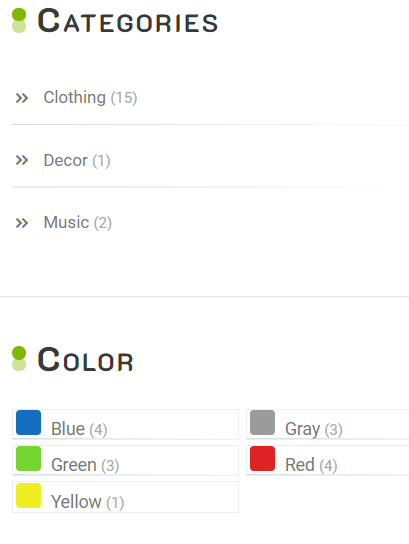
With the Adaptive filters enabled the category filter will only show the products and product counts specific to the other filters the customer has chosen. For instance, if they pick red in the colour filter from then on the product category filter will show just the red options. It starts off like this:
And after clicking red, only the red options will show up.
If you keep the standard filters all of the products will always be shown and switching to a different category will reset the other filters. The customer would have to choose an item first and then choose a colour afterwards.
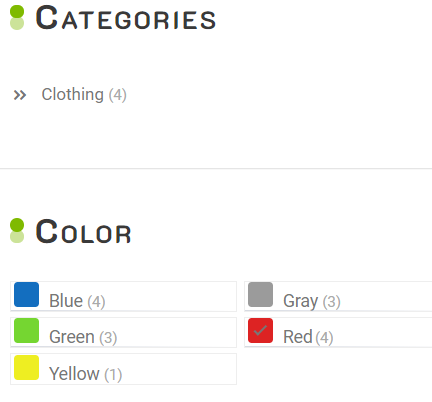
Show product counts
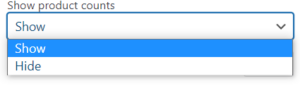
If clicking Show on this option, there will be a number behind every category that tells you how many different items there are within that category. These numbers don’t indicate how many of a specific product you have, just the options.
And of course, you can choose to disable this by clicking Hide.
Showing clickable product category inline on each product in your archive
Adding some inline product filters will allow your customers to find similar products as to what they are viewing by adding clickable product attributes under all your products. Here, you can also filter on whichever taxonomy you choose.
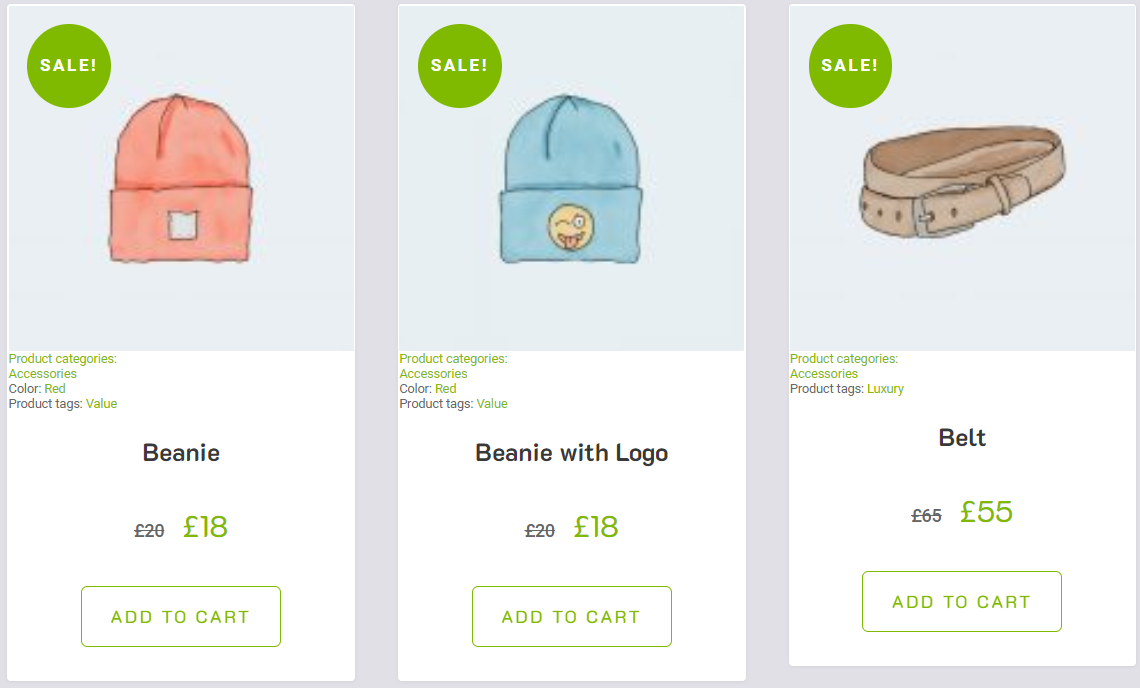
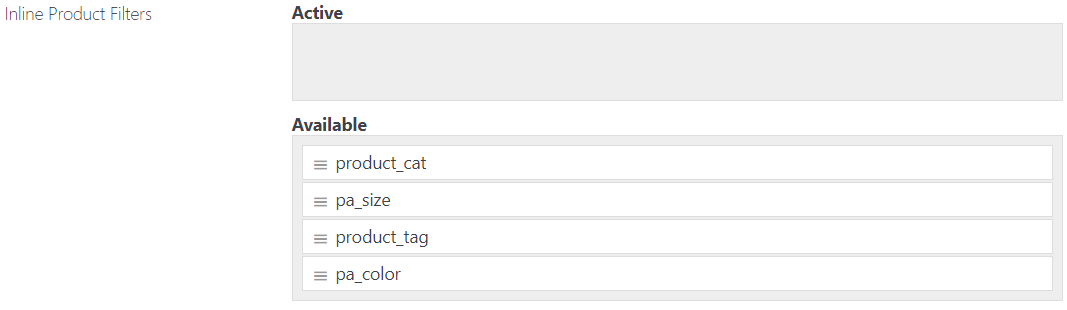
To add them under your products go to Settings->Super Speedy Filters > Inline Product Filters. From here you can drag into Active and decide the order that they are in.
For more information about Inline Product Filters we have a guide for it here:
https://www.superspeedyplugins.com/knowledgebase/inline-product-attribute-filters/
SEO options for Product Category Filter
WIth our Super Speedy Filters, you can use our Pretty Permalinks (Settings > Super Speedy Filters > URL Structure) and SEO( Settings > Super Speedy Filters > SEO & Indexing) options to shorten and change your URL, allowing better traffic from search engines. Here is an example of what an URL will look like if a customer has clicked on one of your categories: https://yourdomain.com/product-category/clothing/. As this article is about the Product Category Filter I’m going to focus on removing the /product-category/ part so it will look like this: https://yourdoman.com/clothing/. Shorter. Faster. Better.
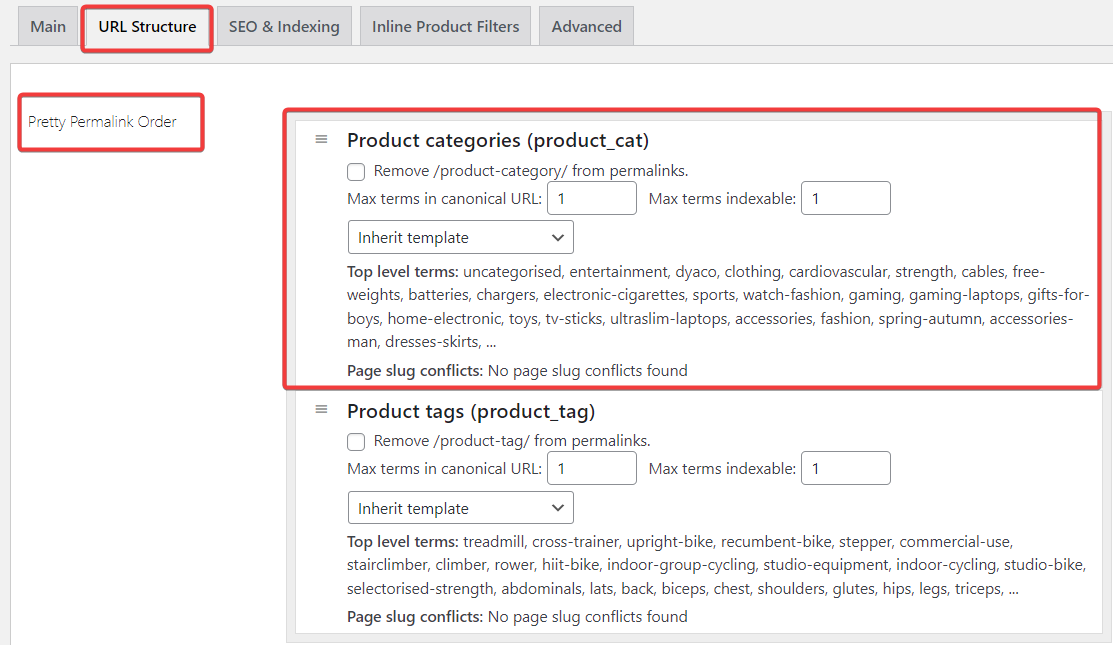
Under the Product categories (product_cat) line there is a box you can tick to remove /product-category/ from permalinks. All you need to do is click that box, and make sure you save changes at the bottom of the page. After that, you refresh your website page and it will look a lot cleaner already.
![]() Is now this:
Is now this: ![]()
If you find that your new URL structure doesn’t work and you get a ‘Page Not Found’ Error, please go to your wpadmin Settings->Permalinks and Save Changes at the bottom of the page.
Changing the order of the category in your permalinks
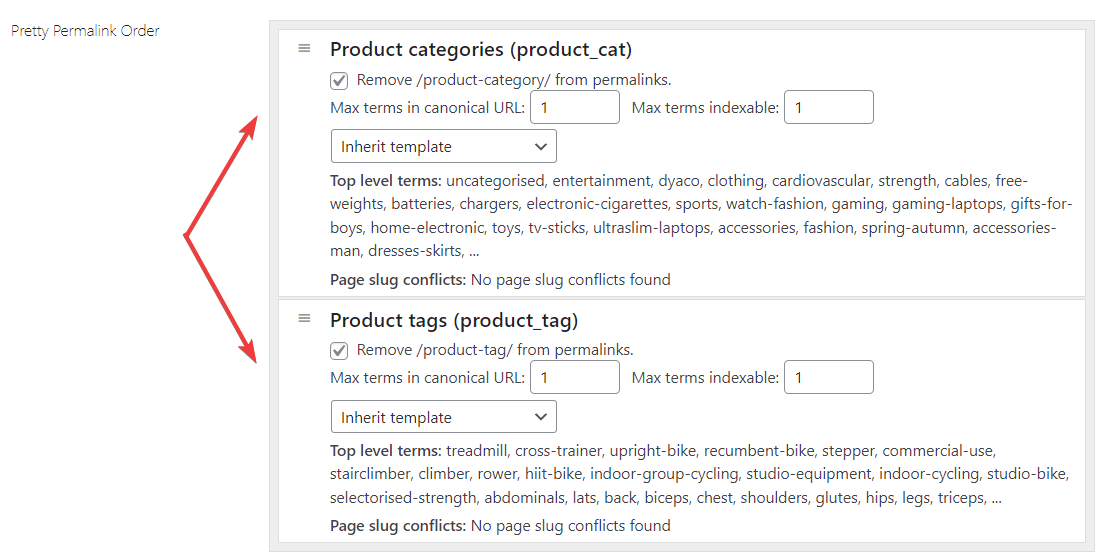
If you have added product tags (product_tag) to your products there is an option to switch the order of the product_cat and product_tag. Earlier, I added a Value tag to a couple of items, and if I go to Categories->Clothing and click on the product tag under one of those items with the default settings this it comes up like this: ![]() . First of all, I want to make that shorter so I’m going to tick both of the boxes of the Taxonomy URL Config and end up with this:
. First of all, I want to make that shorter so I’m going to tick both of the boxes of the Taxonomy URL Config and end up with this: ![]()
Now we can switch these around by simply clicking and dragging the boxes around:
Don’t forget to save to apply your changes and then it will look like this: ![]()
Adding category name to page titles
The page titles or in this case, the shop title settings allow you to change what shows in the browser page title at the top of your tab and the Woocommerce shop title. These will be found under Setting-> Super Speedy Filters > SEO & Indexing, next to “Shop Titles”. 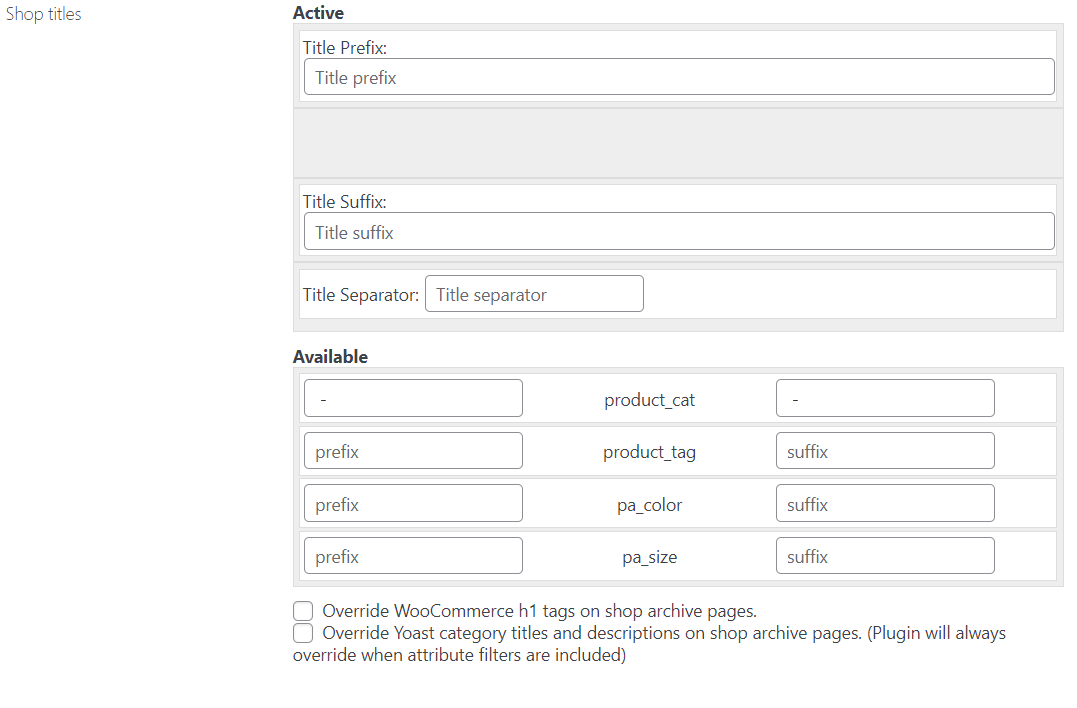
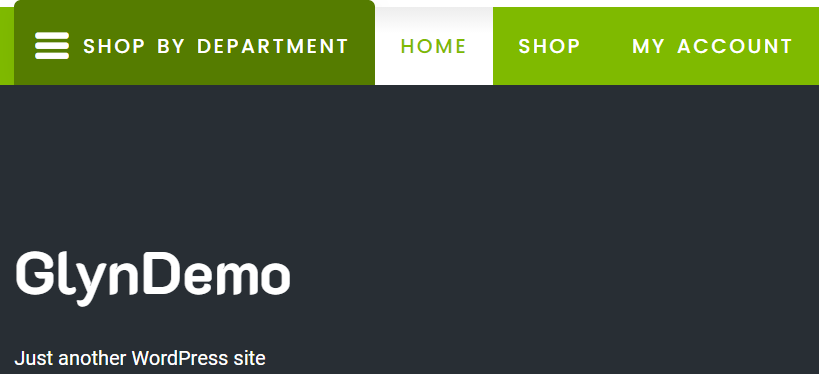
With the default settings, it will just show the name you have given to this WordPress project. Mine is titled GlynDemo so this is what will show up in my tab and on my homepage.
![]()
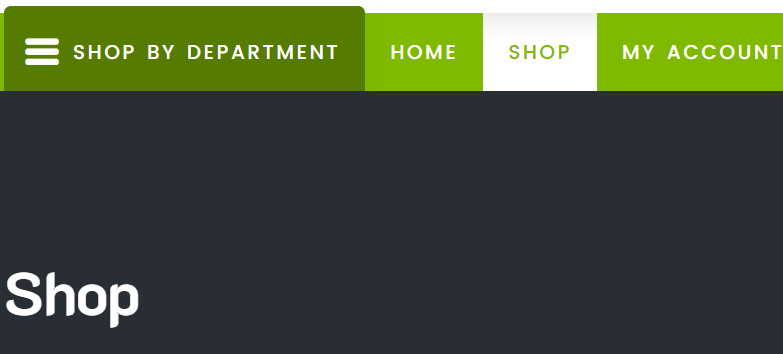
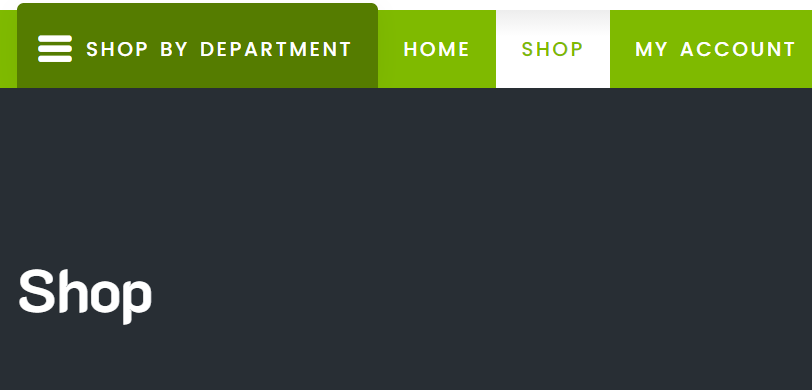
And if I go to the shop page, it will still show GlynDemo in the tab but will display Shop on the shop title.
I’m going to start with the Page Title in the Tab, this is also what will show up in the search results, for instance, if I search for Faster Woo Widgets this will be the top result:
![]()

Now I’m going to type ‘Product’ into the first Active Title Prefix, save that at the bottom, and refresh my store page.
This will only change the Page title.
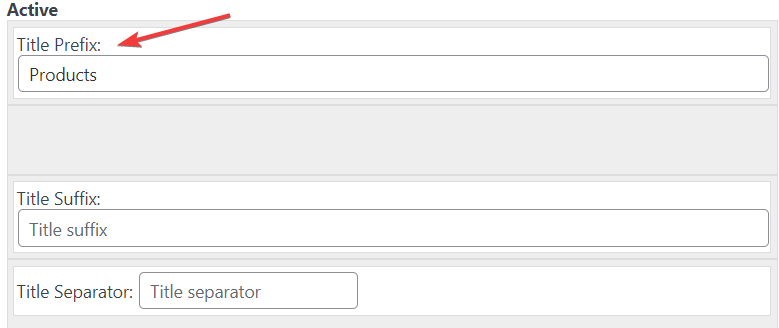
Here is what the page tab looks like: ![]()
There is also an option to display your title on the shop page itself so instead of, in my case, the default ‘Shop’ shop page title, it will now say ‘Products’. You can enable this option by clicking to override Woocommerce H1 tags at the bottom of the Shop Titles option.

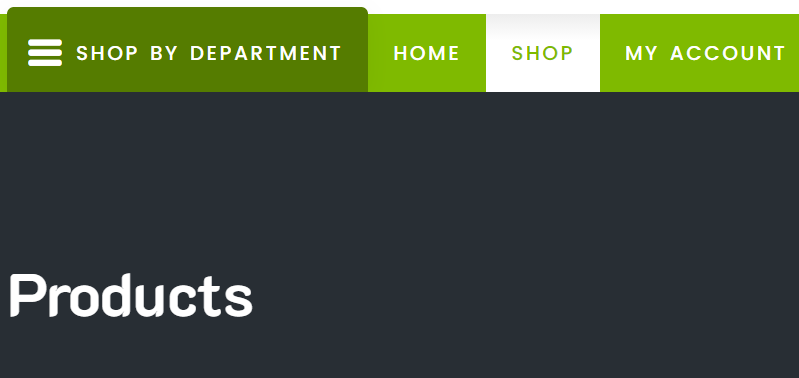
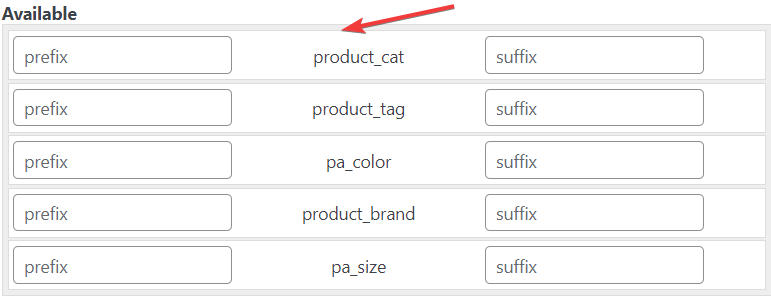
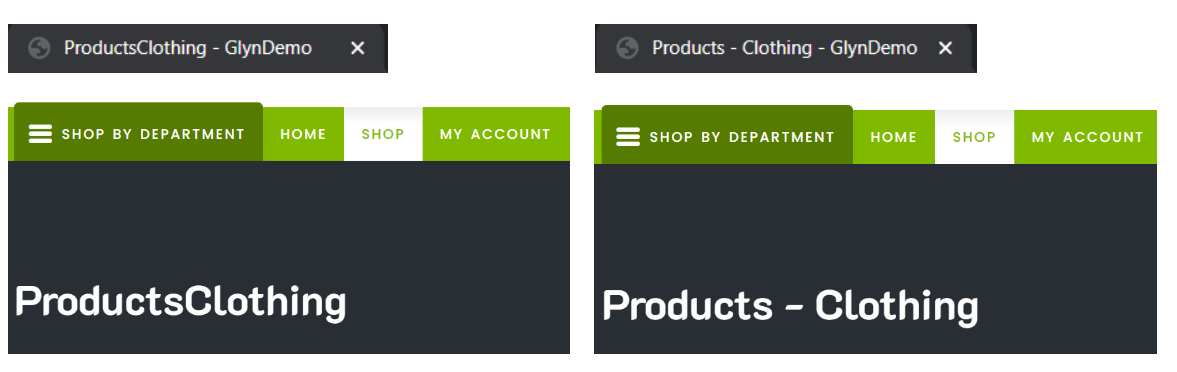
Next, I’m going to add the product category title by clicking and dragging the product_cat box from the available boxes into the active ones. These titles will show up after the first Title Prefix, in this case, Products.
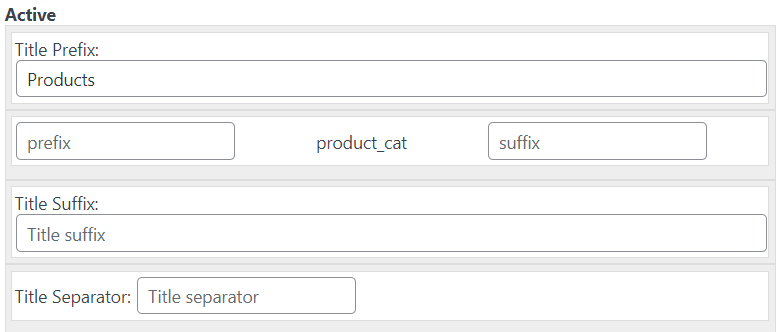
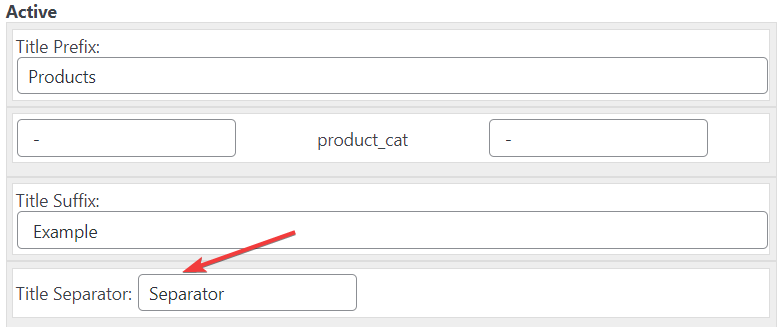
After saving this and clicking on the clothing category my page title and my shop title will display ProductClothing, because there is nothing to separate the two. This is completely customisable by adding a prefix in the product_cat box. That could be just a space, or space hyphen space ( – ) or any word that you think suits what you’re looking for. I’m going to go for a basic space hyphen space, as it looks clean and is an easy way to separate the titles.
These are only the prefixes, you can also add suffixes. Adding a suffix to the Active Title Suffix will display whichever suffix after the product_cat, where I will run into the same separation issue as before. This is solvable by adding a suffix to the product_cat, like another space hyphen space.
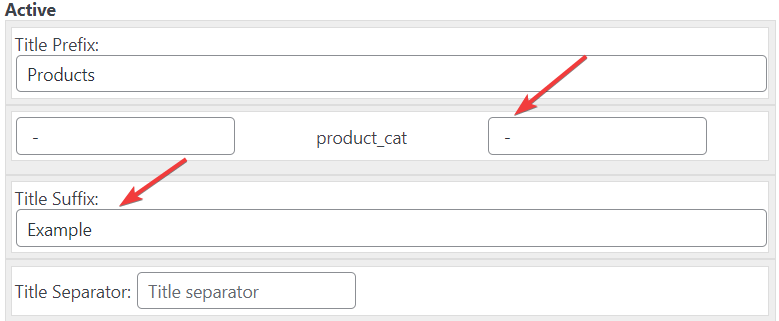
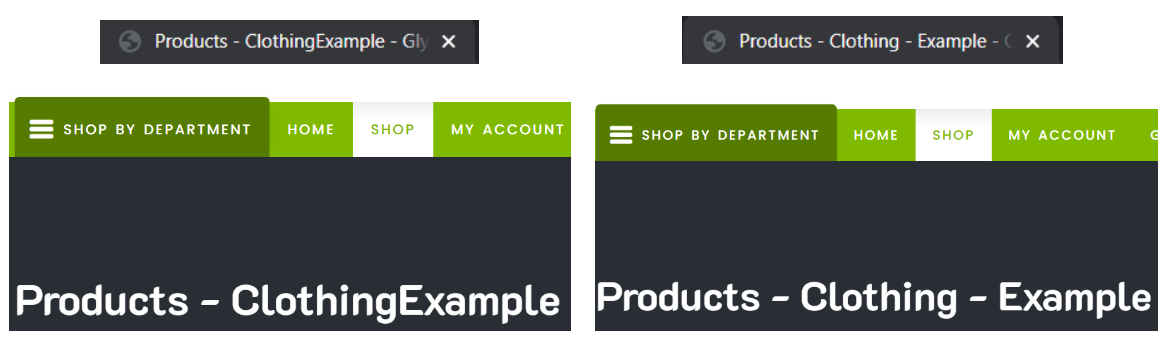
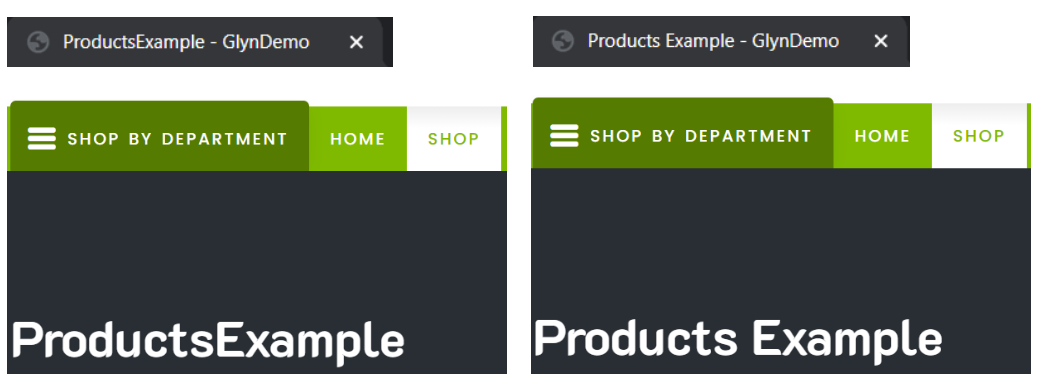
Make sure to put a space before your Title Suffix (Example) or your main shop page and title won’t have a separation between ‘Products’ and ‘Example’.
Finally, we have the title separator, which, well, separates your titles from your website name. If you leave that space empty it will default to a hyphen separator in your page title. This option changes nothing to your shop title only the page title in the tab.

Adding a category name to Meta Descriptions
The meta description is a summary of what content is displayed on your webpage and shows under the page title in search results. This is also called a snippet. In the meta description, it’s important to keep it short and to the point, focusing on important keywords. These keywords will highlight in bold if a user has searched for them. I searched for wordpress performance plugins wpintense and my results came up like this:
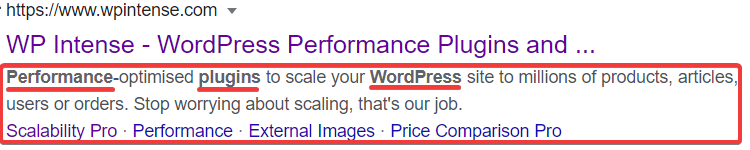
Figuring out what summary and keywords work best for you is important because this may be the deciding factor for your future customer to click through to your site.
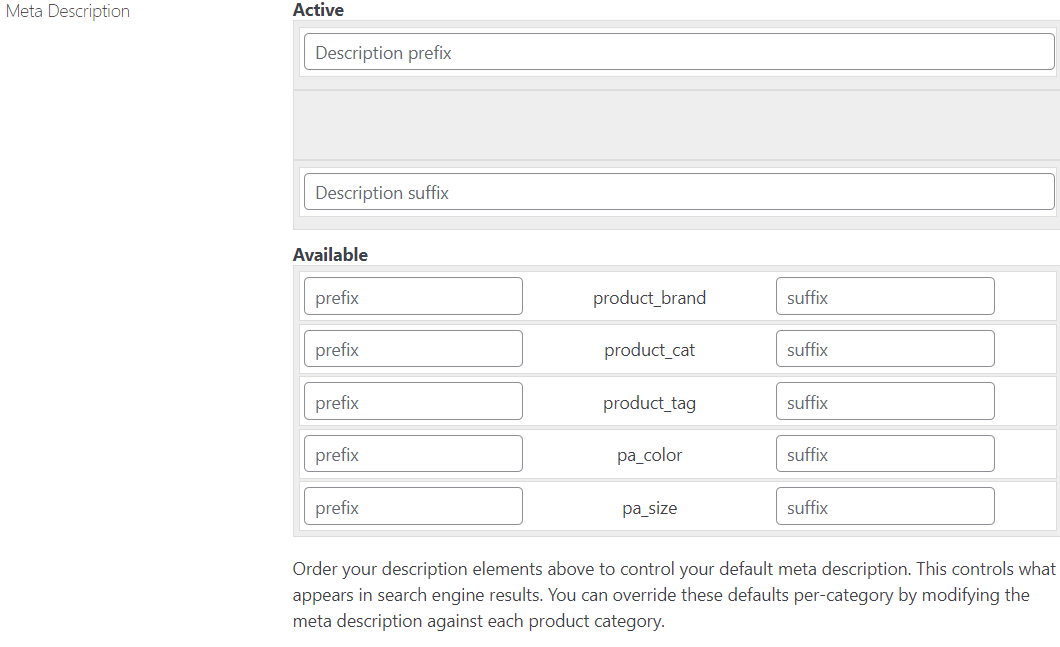
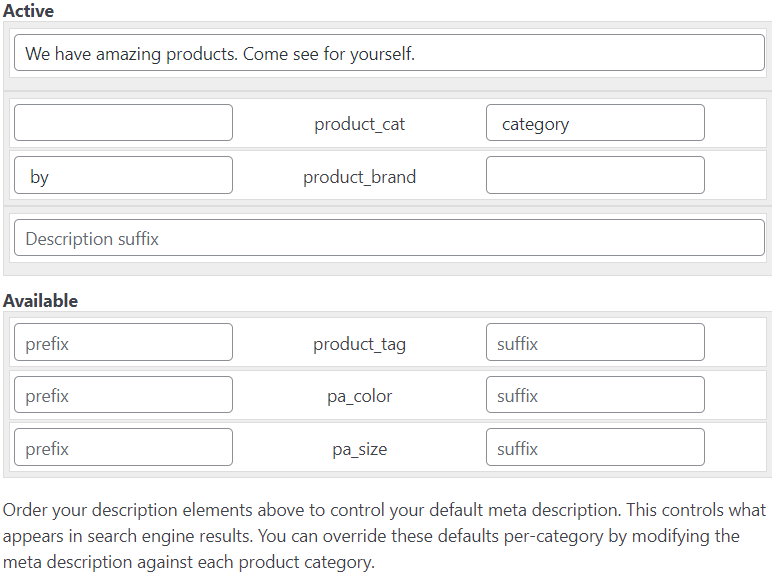
Drag the product_cat into Active, I’m also going to add product_brand for the example and write a short description prefix, a category suffix, and a brand prefix.
I can’t show you how exactly this will look as a snippet but after you have saved and refreshed your shop page you can open your source code (ctrl+U) and then search (ctrl+F) for meta, press enter until you get to <meta name=”description”. Your text should show up here.
![]()
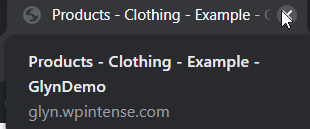
And if I click through to clothing or even a brand it will show your prefixes and suffixes.
![]()
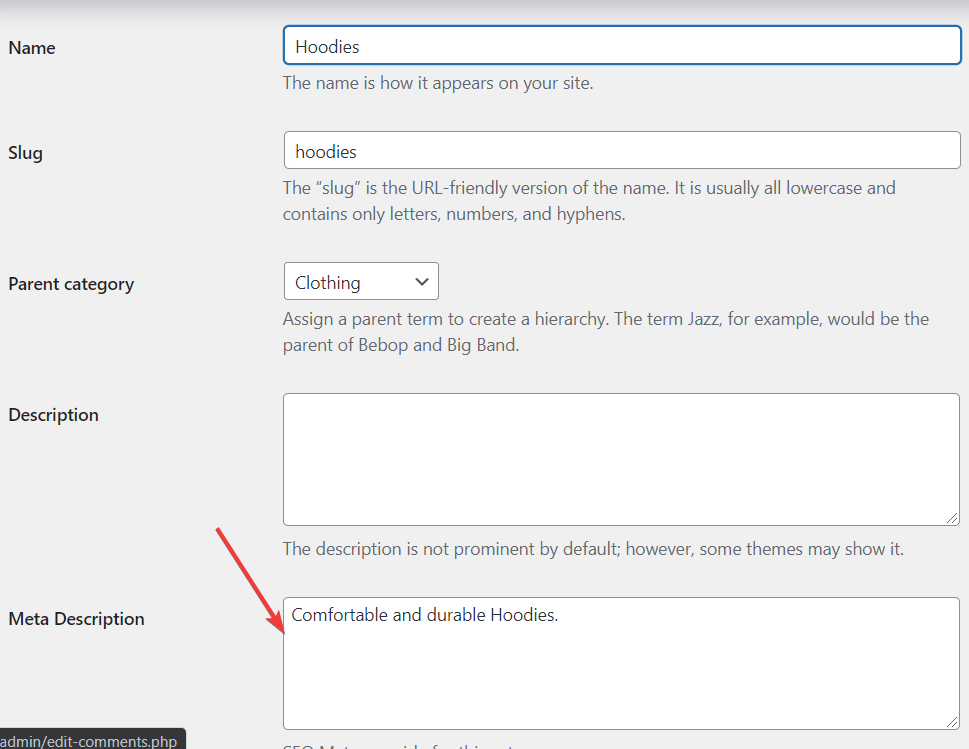
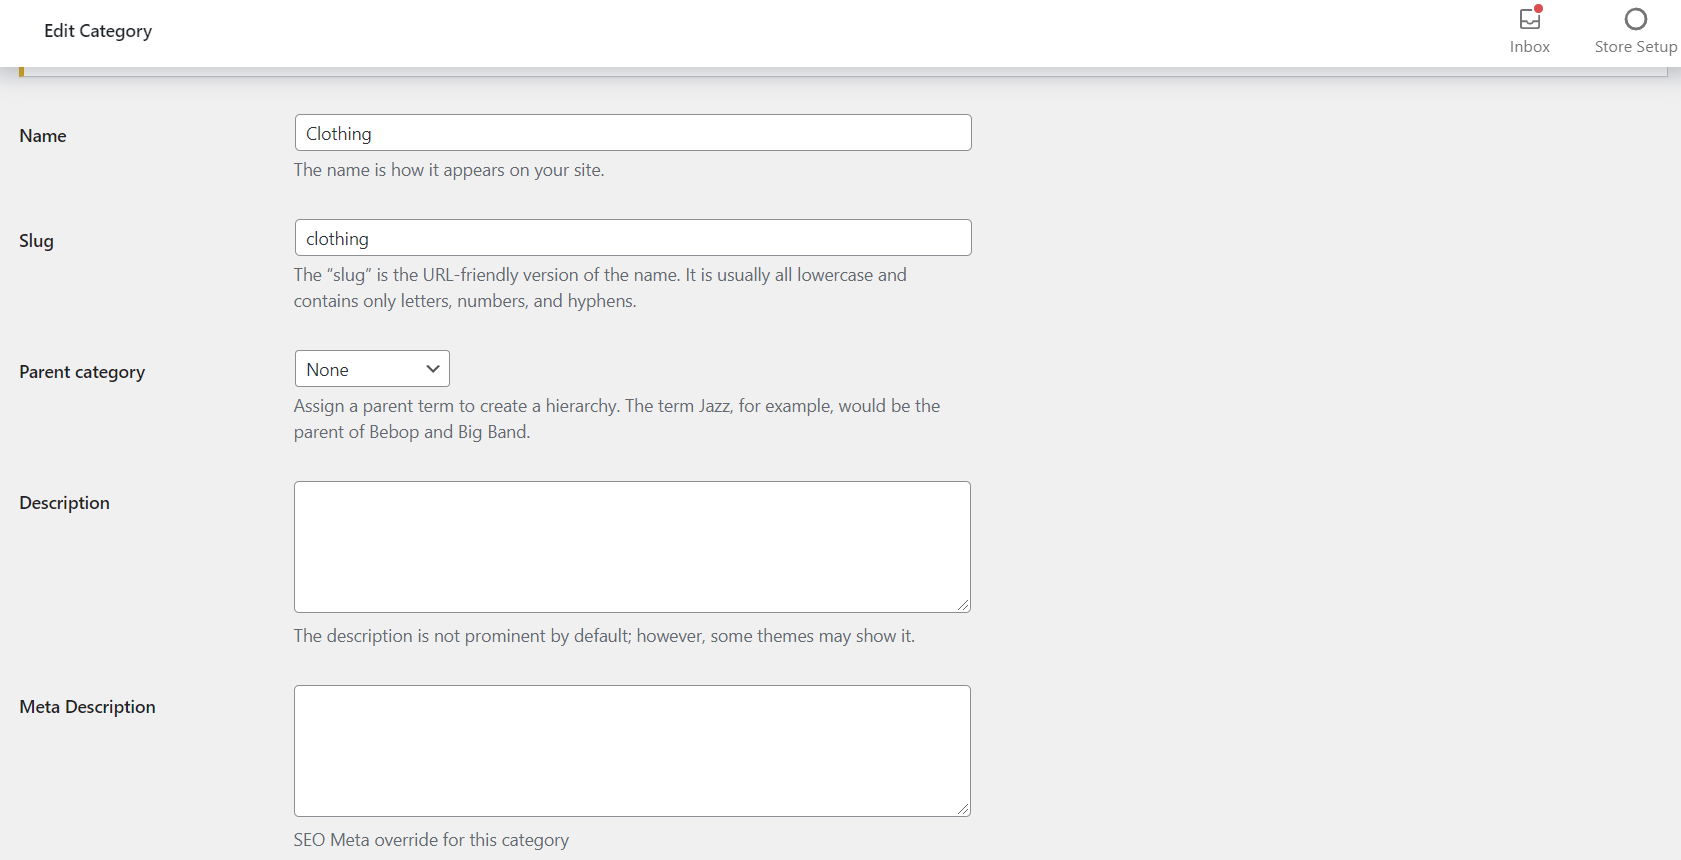
This meta description is your standard meta description. You can customise these further per category by going to Products->Categories and from there you can edit each category’s meta description.
![]()
Adding a category description
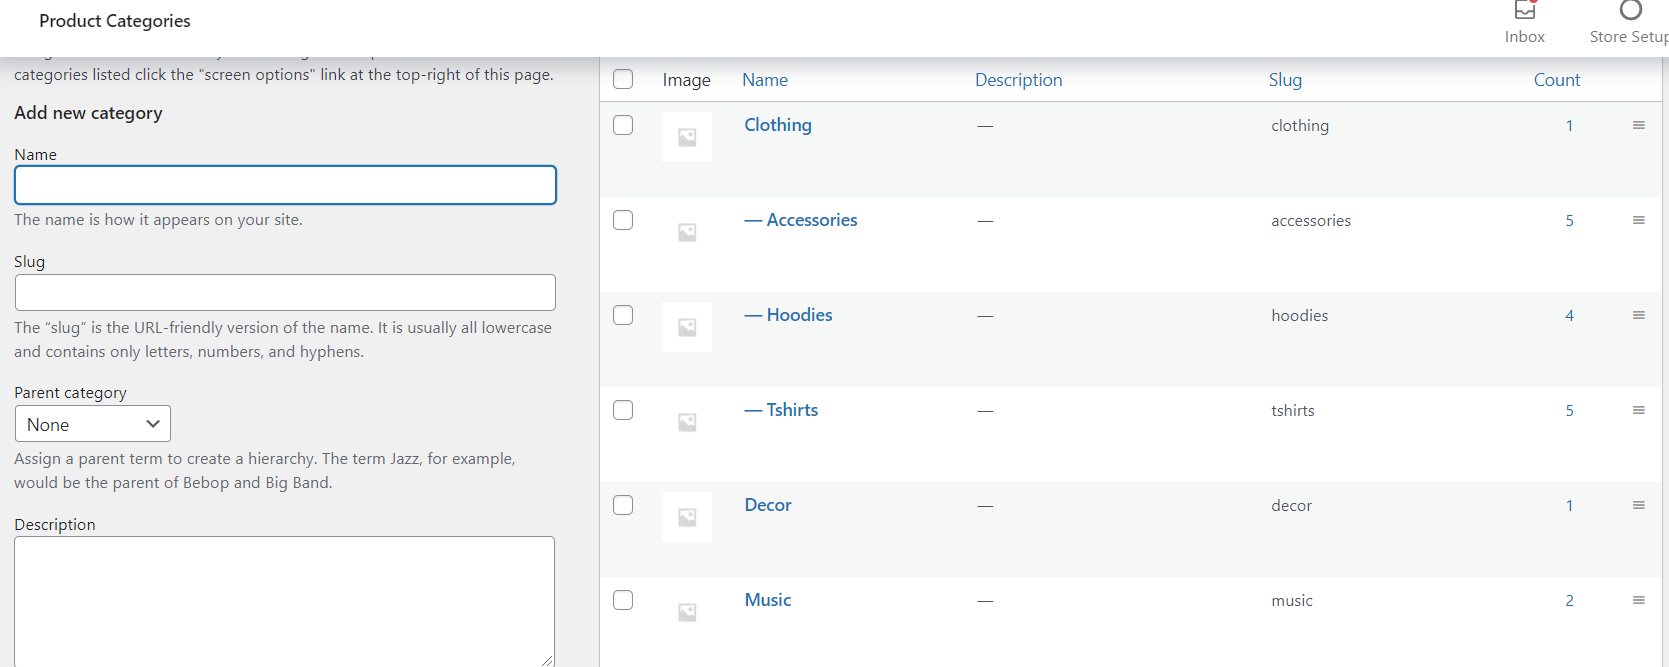
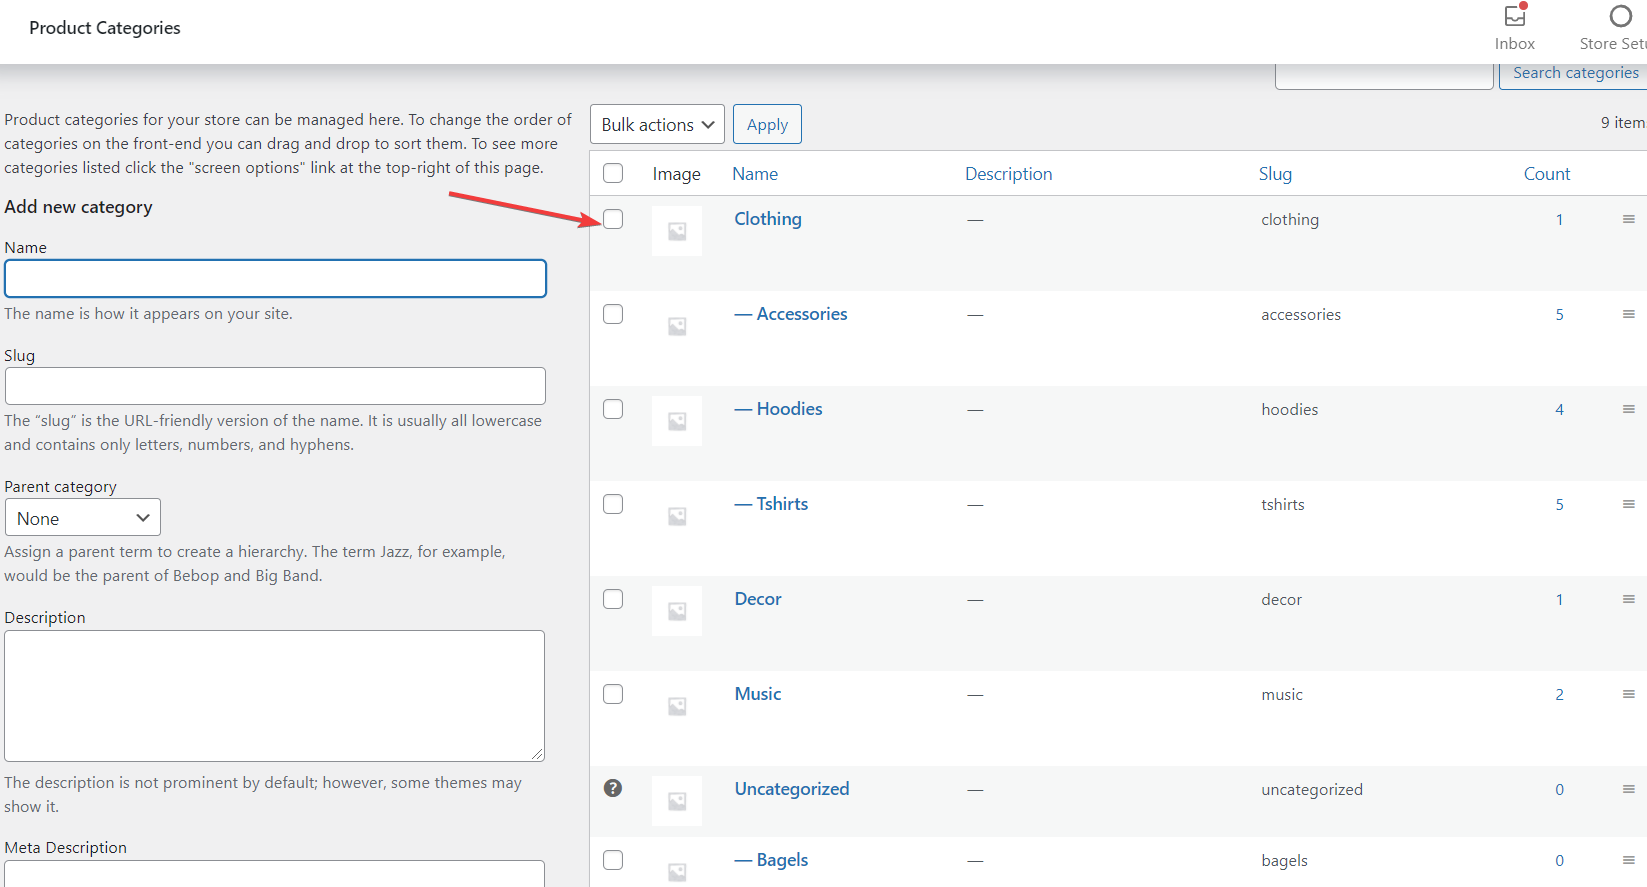
This is how you add some more information about your product above the category that is on display, with an option to add a more detailed description. Here, you can also add or remove categories. Firstly, go to Products->Categories and pick the specific product you want to edit.
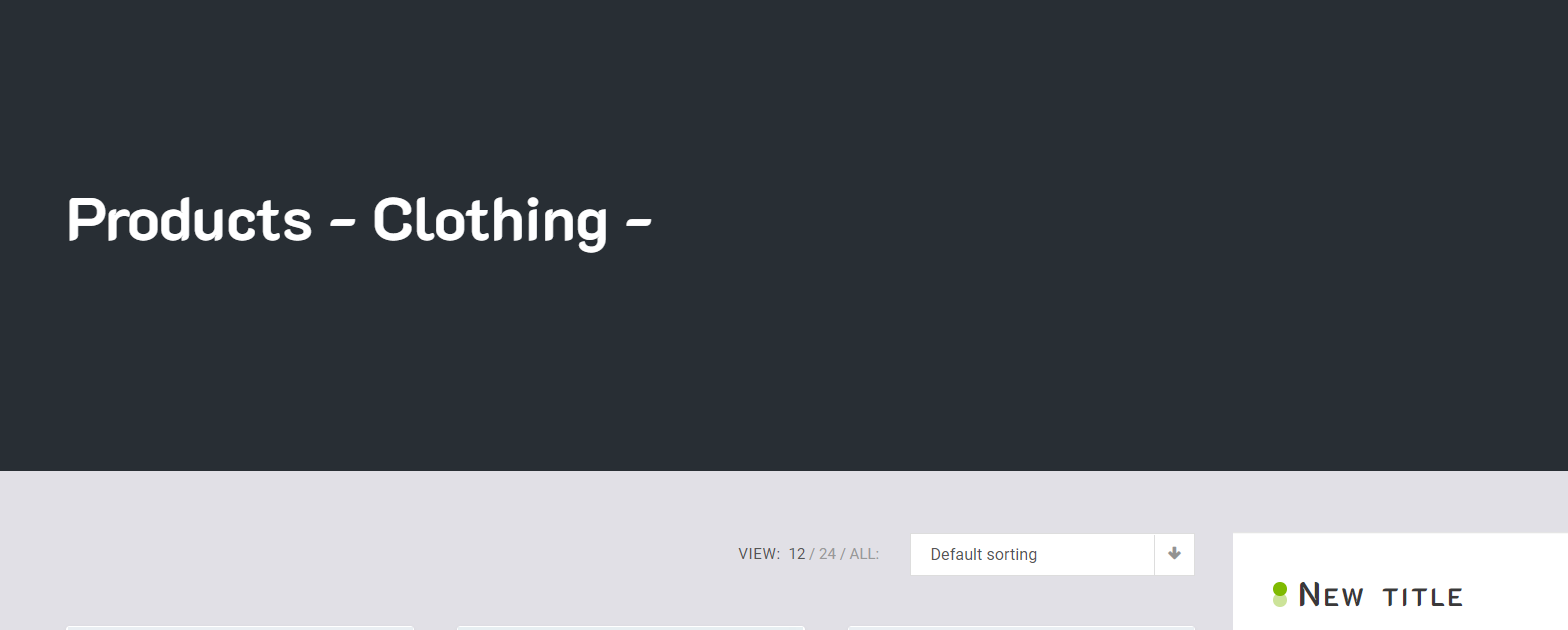
Here is what my theme looks like before I change anything here, followed by what it looks like once I change the product name and add a description.
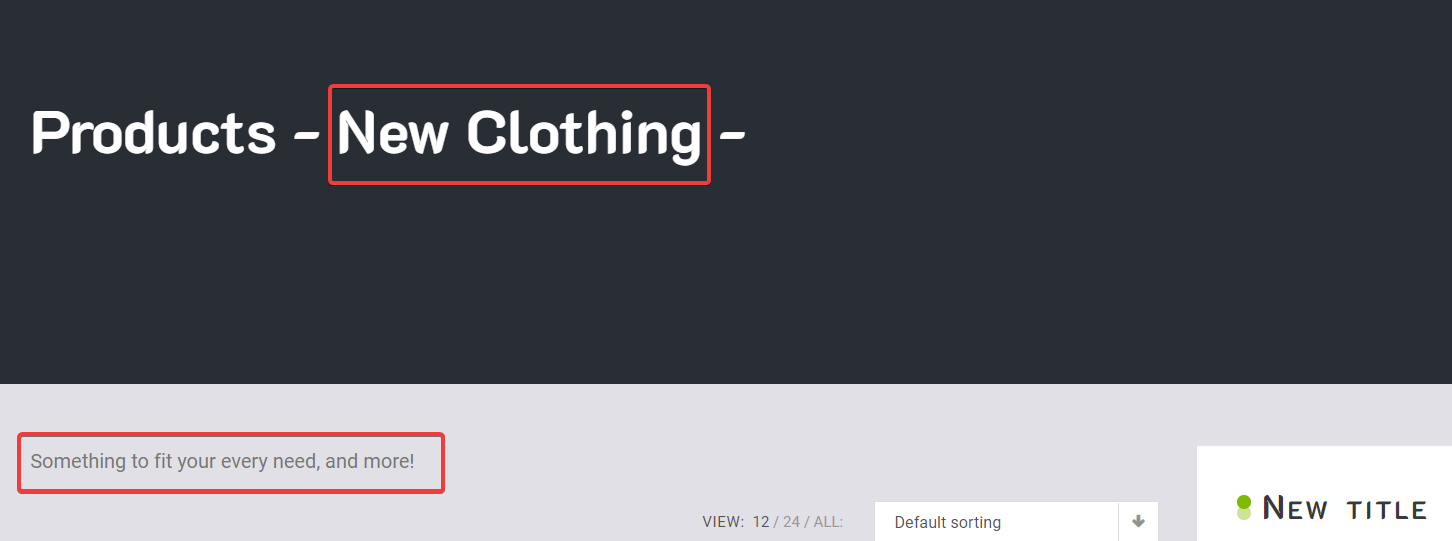
Here you can also edit the specific meta description. Here is mine before and after I changed the product name:
![]()
![]()
And here it is again after adding a meta description.
![]()
You will notice that the category name no longer shows up in the meta description. Once you add a meta description it will display only that but only on this specific category name, so you could add the category in the meta description yourself.